Showing posts with label unity. Show all posts

Wednesday, 5 December 2012

Building an Evironment (Part 2)

After completing the modelling process, It was time to bring my detailed assets into Unity. We had the idea of scaling up our level before exporting it out of maya, believing it would make getting into the scene and placing cameras easier. The first hitch I hit was when bringing in the first person controller into the enormous environment. After Scaling up the player, Movement was very slow. After speeding up the movement, severe sliding occurred, meaning when navigating around the environment you almost felt as if walking on ice. To tackle, I scaled up the level by 10 instead of the usual 100. I figured I would scale it back up for the actual scenes.

After bringing in the level, I applied a simple specular bump from desaturated UV texture images. This immediately brought out the floor in particular. As there is a strong theme of stealth in our storyboard, I wanted a very dark environment so I kept the lighting subdued, with the generator room as an exception (I thought it would be good to have strong dramatic lighting where the climactic confrontation takes place). After being introduced to some interesting tools in Unity, I began playing around with animated lights and self illuminating objects. I began with the computer room. By bringing in a black and white targa image (The white area highlighting the screen which I intended to light up) and creating an alpha from the grayscale image, you can see from the snapshot below that the monitor has its own light source:


Notice that the player is restricted from walking right up to and entering the camera room. This is because as you may have already noticed, part way through the modelling process I began working more efficiently and allowed back face culling to be visible in maya on the door, camera room, and generator room asset. When I at first allowed the play to venture to the end of the corridor, to the left, back face culling of the doors and generator room could be seen. When I put this environment together, I almost imagined it as  being a behind the scenes movie set walk-around. Perhaps if I had have sacrificed a little bit of efficiency when modelling the camera room, and linked it more solidly to the corridor assets, I could have kept my environment immersive and realistic throughout. I am not sure if the fact you can see this room but not quiet get to it could annoy players exploring my playable scene. I also keyed the blue point light in the computer room to flicker adding a further sense of realism.

Still seeing my space as a set rather than a seamless game level, I only had lighting in key areas referenced in our storyboard. The long corridor to the left of the first person controller was intended simply to allow the player to walk up and see the camera room on display, almost like a exhibition piece seen behind a screen at a museum or gallery. However, there was talk of adding in extra sequences by the others which would open up my environment, meaning that I had to find ways to add more interesting lighting. After receiving feedback from a critique, I had comments of the level being quite dark in places. I played around with the fog in the render settings to bring out some of the geometry and help add more of a visual aid for the player to navigate the scene. I also wanted to bring some red into the scene to compliment the green lighting and add further evil connotations. For this to make sense I need some object to act as the light source. I had the idea of positioning small terminals down the the long bare corridor, so I made a simple model in maya, self illuminating the red strip I had modelled into the geometry.


I originally added a red point light, but soon realised the object I had modelled didn't make for a sensible computer monitor with the narrow strip. I thought however, I could revive this by turning into some form of security scanner. At this stage I had been introduced to light cookies, so I thought I would apply a grid projection adding the illusion that the red light is scanning the environment for intruders. Bellow is the targa image I created to act as the cookie:

As I didn't want the new spotlight to project a repeated texture, I set the wrap mode to 'clamp' after doing this I had some strange results with bars of red project above and below the cookie. I made a few attempts at correcting this, but in the end decided the bars didn't look too out of place as part of the laser scanner effect. I had two scanners positioned down the corridor so animated the two projections panning up and down the space, I felt this added life to the so far very static environment.


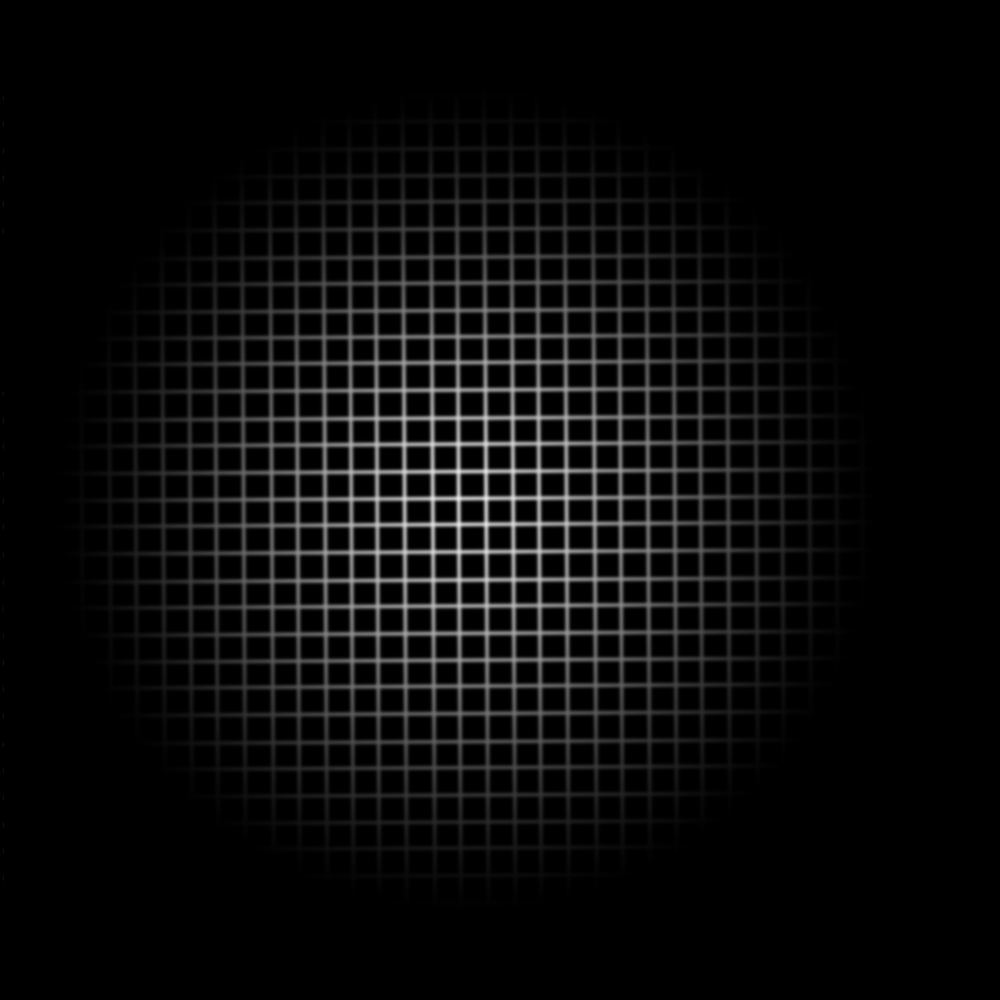
There a few laws I was given when considering realistic lighting. Number one, there is no such thing as pure white light, at most any light will have at least a teal tint. I also learned that cookies can be applied to eliminate the perfection we get from computer generated lights. In reality any light is distorted by the air and the atmosphere, with blemishes and imperfections in its projection. I applied a simple cookie I created to the directional lights and spotlights in the scene to create the illusion of blemishes in the projections:


Again I used the clamp wrap mode and created and created an alpha from the greyscale. I also created a  'self illumimap' for the green lights on the doors.

I really did enjoy experimenting with the lighting in Unity. I feel the ability to work with cookies presents many creative opportunities to have fun with how things are lit and to create interesting projections. I also am pleased to have unlocked the animation window, where assets can be manipulated to create events within the game engine. 

Prior to this stage, our group had also spent time collecting sound effects from the sound booth within college. We had gathered miscellaneous Sci-fi sounds from 'Logic Pro' and also recorded spoken dialogue. When it came to adding the 3D sounds into my playable environment, I realised that some of the files were as large as 20mb. It wasn't until later when it came to applying them into our actual scenes that I realised Unity automatically compresses them into manageable files.

Unfortunately, there were issues with the lights baking when I built the level for the web. As I am not able to pre bake the lights, all the cookies and bump maps were lost. This means I cannot display the web version bellow as I would have liked to.

Sunday, 18 November 2012

Developing The 'Whale Ship'

From my loose designs, I found an image I was happy with. I decided on the vessel seen from behind. I simply took this image and produced a turnaround sheet to take into maya and use as reference:


As I mentioned in previous posts, our team is having to generalise and span out of our comfort zones as   our skill sets don't comfortably span across all areas of the process. This meant that I made a very messy first attempt at modelling this vessel:


As you can see from the screenshot, the edge isn't too great. Some of the shapes have more than 4 sides, a law I didn't quite grasp when creating this first effort. Also when smoothed, you can see some small gaps indicating that some of the edges are not merged. The modelling here is generally scrappy and untidy.

For my second attempt, I started simple, blocking out the basic shape of the shuttle. From this I began adding edge loops, constantly keeping edge flow in mind . I added in more edge loops on edges I wanted to be square, and when smoothed, the results were much better. For the unwrapping process, I used methods taken from our previous alien workshop. However, I found that as the ship is less organic than our biped, some of the flat faces required projecting separately. For the texture itself, I added in wet media brushes from the photoshop presets, along with the smudge tool set to a scratchy nature brush, to try and create the illusion of dints and scrapes on the shell of the vessel:


When considering the animation of the ship, to some extent I wanted it to move like a large water dwelling mammal. I didn't design the ship in segments, as I didn't want to make it seem too organic and move away from the idea of a space shuttle. This means that all the expression is in the fins. I made a quick you tube visit and found footage of a whale swimming for reference:


I created three animations: An evasive manoeuvre where the ship banks quickly from side to side, a swimming motion where the ship propels itself forwards with it fins and a simple animation where the ship is cruising using the jet engines on its rear. I wanted to keep the animation slow and graceful like the Humpback whale in the video. After completed the animations, I exported an FBX file into Unity and created a turntable. Initially I had a problem with the right set of fins. Although in Maya after checking all of the faces were facing out correctly, when exported some of the geometry flipped. To fix this I simply reversed the culprit faces in maya, causing them to be flipped the correct way when exported. I experimented with some specular bump mapping, which I only wanted to be applied to the cockpit shield. Using a normal map, I found I was only able to control how much bump was added to the desired area. As the main ship is all one piece of geometry, I will have to figure out a way to make only glass appear reflective. For now, here is a turntable of the animated ship:


Unity Web Player | Whale_first_turntable

Unity Web Player | Whale_first_turntable

Tuesday, 13 November 2012

Completing the Alien Workshop

Since the last post I made on the topic, I have now completed the biped project set as a requirement for 'OUDF505'.

Recapping on some of the processes we looked at last year, I unwrapped my model and applied a basic UV texture. This was helpful in reminding me of 'Planar mapping' the 'Cut UV edges' tool and the 'unfold' tool:


Following a series of videos, we eventually rigged, smooth bound, weight painted and animated our Alien model, the goal ultimately to have a turntable created in Unity.

I found the exercise very useful, as the problems faced during the workshop presented a learning curve. Rigging is a very new process in terms of our progression within the course, and having next to no experience with the process, it was important to gain knowledge before attempting our own models to contribute towards our group project. For example, Having seen how certain geometry moves when influenced by a rig, I feel I now have a better understanding of edge flow. Particularly within the face, as you can see from the UV map there wasn't a great deal of thought put into the topology, meaning that the mouth and eyes responded very rigidly when moved. Also, when following the instructions on creating the eyes, a method of smoothing and then adding edge loops was put forward. This gives more control over the tightness of certain geometry when smoothed, giving greater control. Had I known this method, perhaps I would have tightened up the geometry around the eyes, avoiding the gaps which reveal back-face culling in Unity. This is just another small tip of the many I acquired through the process. 

Another important area we gained further experience in, was how exported 'FBX' files act when imported in Unity. For example, I had a problem with a small number of vertices shooting from the mouth at certain points during the animation of my asset. Discussing this with my tutor, we at first considered I had perhaps accidentally deselected the vertices when binding the skin to the rig, meaning the unbound geometry was confusing Unity and causing the vertices to act strangely. However, after rebinding the geometry, I found I was still having the same problem. I eventually discovered that the inside of the mouth had no influence from any of the rig's joints as a result of my weight painting. This meant that the culprit vertices where virtually unbound to the skeleton:


After correcting this, I applied the random animation script in Unity as well as the camera orbit to complete my turntable. Overall, I found this initial assignment very productive and useful. After launching into the process unsure, I gradually began to understand edge flow much better than before, and how geometry acts and moves when attatched to a skeleton. The tutorial videos also touched on naming conventions, grouping objects and working in layers, keeping the maya document tidy and in theory fit to hand over to an animator.


Unity Web Player | Turntable_web

Unity Web Player | Turntable_web